4 steps
Each active member of the research organization should have a member page on the website of the organization (if not, please contact the organization's mamanger).
For opening your member page, you have to:
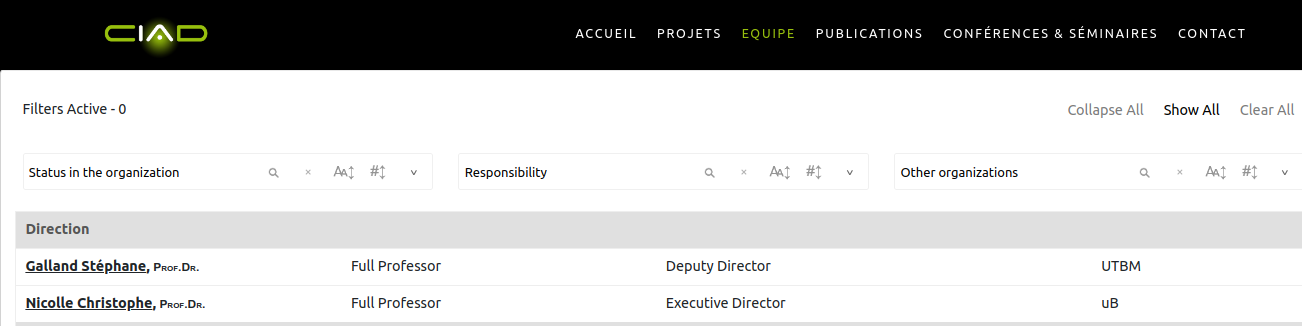
Team (or Equipe) link in the top menu bar of the laboratory
The member page contains components that are automatically built by the server from the information system: the top description of your profile, the list of publications, the list of supervisions, etc.
Soe other part are not automatically generated and must be edited by you maunally. Since the front-end website is based on the famous WordPress (WP) content management system (CMS), you will have to use the tools of this CMS.
The WordPress page editor is accessible only if you are connected. The editor link should appear inside the top-most tool bar on the page, e.g. Edit Page or Enable Visual Builder.

After clicking on the Edit Page link, you should see the WP CMS page editor:
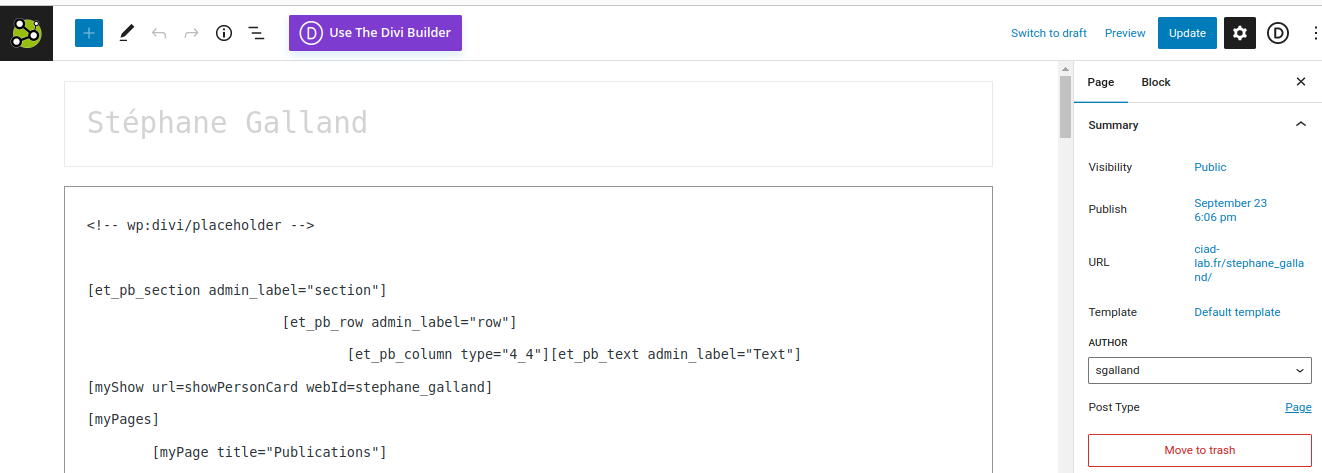
The main page of the page shows to you:
Note: The content of the page is based on a text in which you could write specific WP instructions. These instructions are specified between bracket characters, e.g.
[myPages].
The research organization server provides specific instructions for including the components that are generated by the organization's server. They are described in the following steps.
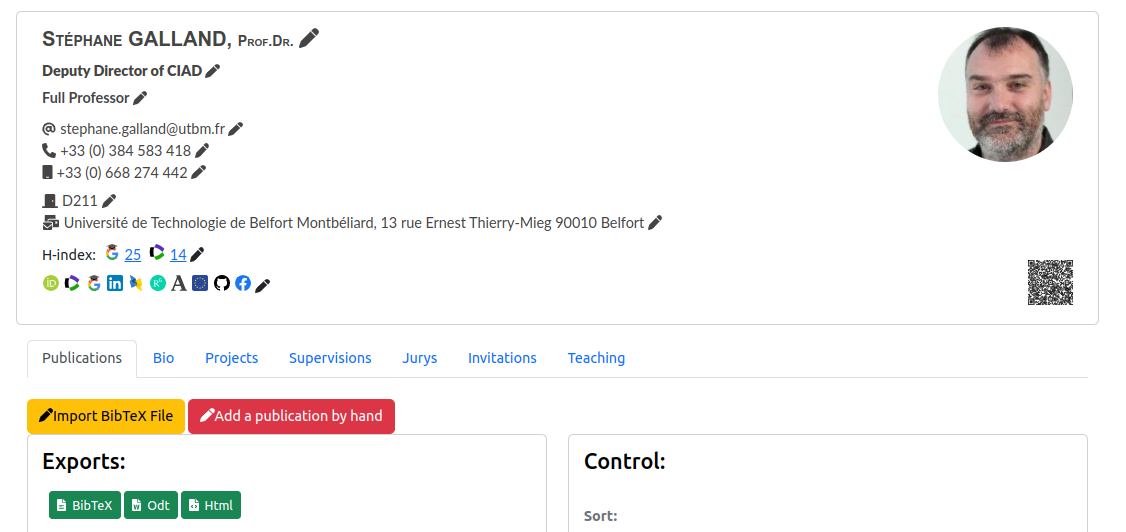
Tab components were selected as the default way for structuring the page's content in different sections that are easy to find and display:

For creating the tabs, you have to use two specific instructions:
[myPages] ... [/myPages]: specify where you would like to include the tabs in the page. The text between the opening and closing instructions is built with a sequence of instructions, below.[myPage title="The Title"] ... [/myPage] enables you to create a tab with a specific title (e.g., The Title).The text between the opening and closing instructions is the content of the tab.For example, for obtaining the tabs in the figure above, the following text is typed:
[myPages]
    [myPage title="Publications"] ... [/myPage]
    [myPage title="Bio"] ... [/myPage]
    [myPage title="Projects"] ... [/myPage]
    [myPage title="Supervisions"] ... [/myPage]
    [myPage title="Jurys"] ... [/myPage]
    [myPage title="Invitations"] ... [/myPage]
    [myPage title="Teaching"] ... [/myPage]
[/myPages]
Note: The names of the instructions is case-sensitive.
Most of the member page include a member's description summary that looks like:
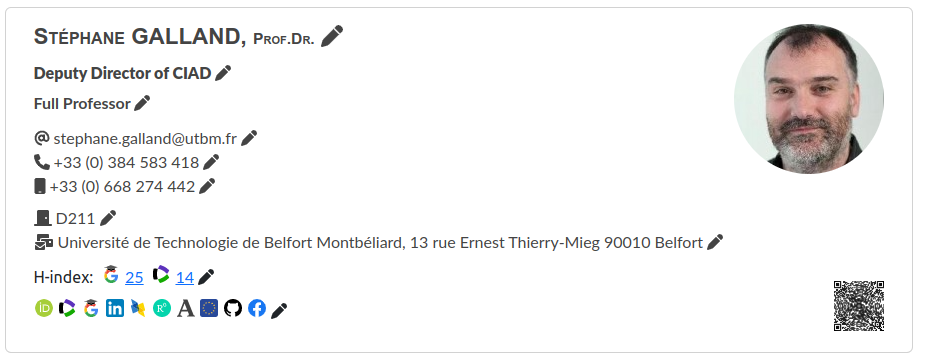
To show up this description, you have to use the instruction below:
[myShow url=showPersonCard webId=<ID>]
Where <ID> should be the identifier of your member page, e.g. stephane_galland if the member page URL is https://www.ciad-lab.fr/stephane_galland.
Most of the member page include a list of publications for the member that looks like:
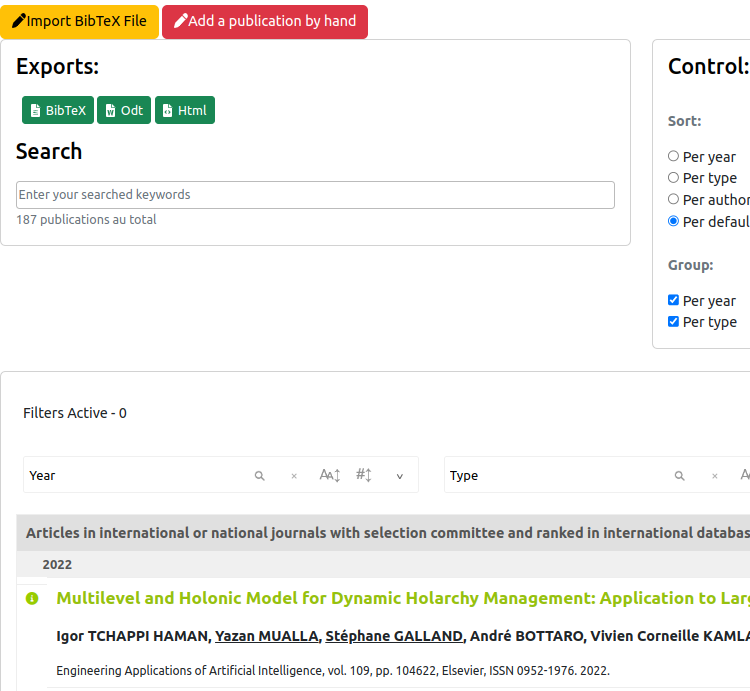
To show up this publication list for you, you have to use the instruction below:
[myShow url=showPublications webId=<ID>]
Where <ID> should be the identifier of your member page, e.g. stephane_galland if the member page URL is https://www.ciad-lab.fr/stephane_galland.
Some of the member pages include a list of the academic and non-academic projects of the member that looks like:

To show up this project list for you, you have to use the instruction below:
[myShow url=showProjects webId=<ID>]
Where <ID> should be the identifier of your member page, e.g. stephane_galland if the member page URL is https://www.ciad-lab.fr/stephane_galland.
Some of the member pages include a list of supervisions for the member that looks like:
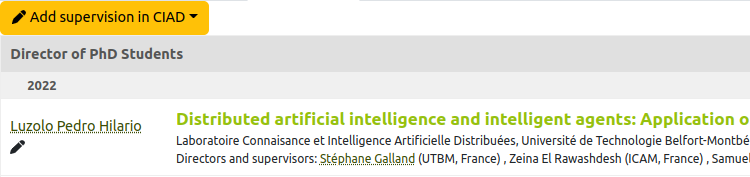
To show up this supervision list for you, you have to use the instruction below:
[myShow url=showSupervisions webId=<ID>]
Where <ID> should be the identifier of your member page, e.g. stephane_galland if the member page URL is https://www.ciad-lab.fr/stephane_galland.
Some of the member pages include a list of jury memberships for the member that looks like:
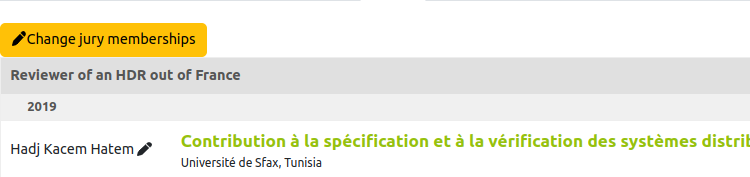
To show up this jury membership list for you, you have to use the instruction below:
[myShow url=showJuryMemberships webId=<ID>]
Where <ID> should be the identifier of your member page, e.g. stephane_galland if the member page URL is https://www.ciad-lab.fr/stephane_galland.
Some of the member pages include a list of incoming and outgoing invitations for the member that looks like:
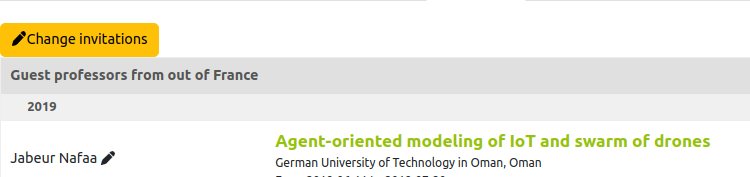
To show up this invitation list for you, you have to use the instruction below:
[myShow url=showInvitations webId=<ID>]
Where <ID> should be the identifier of your member page, e.g. stephane_galland if the member page URL is https://www.ciad-lab.fr/stephane_galland.
All the components that are described above are able to show a small "pen" icon that will enable you to edit and change the displayed information.
For showing the "pen" icons, you must be connected.
Specific documentation are provided for helping you to edit data that is shown: